When cooking meat, people often rely on guesswork—pressing it with a finger, watching the clock, or checking the color inside. While these methods can offer clues, the most accurate and reliable way to ensure your meat is both safe and perfectly cooked is by using a meat thermometer. (It also happens to make a thoughtful and practical gift!)
Whether you're grilling steaks and burgers or roasting a turkey for a special occasion, this guide will walk you through everything you need to know about using a meat thermometer—from how it works to the correct internal temperatures for various meats.
It only takes one dry chicken breast or an overcooked burger to realize just how important it is to cook meat to the right temperature. Sure, it’s about flavor—overheating meat dries it out, leaving it tough and tasteless. But it’s also about safety. Undercooked meat can harbor harmful bacteria that only die off at certain internal temperatures.
That’s where a meat thermometer comes in. With just a quick check, you’ll know exactly when your food is both safe and cooked to your preferred doneness. Like your burger medium rare? You’re set at 125°F. Roasting a whole chicken? Once it hits 165°F, it’s ready to carve and serve.
Using a thermometer also takes the guesswork—and the stress—out of cooking, especially when hosting. When you can trust your food is cooked just right, every time, you can focus on enjoying the meal. Here's everything you need to know to make the most of your meat thermometer.
To get perfectly cooked results, start checking your food’s temperature a little before the expected cooking time ends. This helps you avoid overcooking and ensures the meat stays juicy and flavorful. Here’s how to use a meat thermometer correctly:
Insert Into the Thickest Part
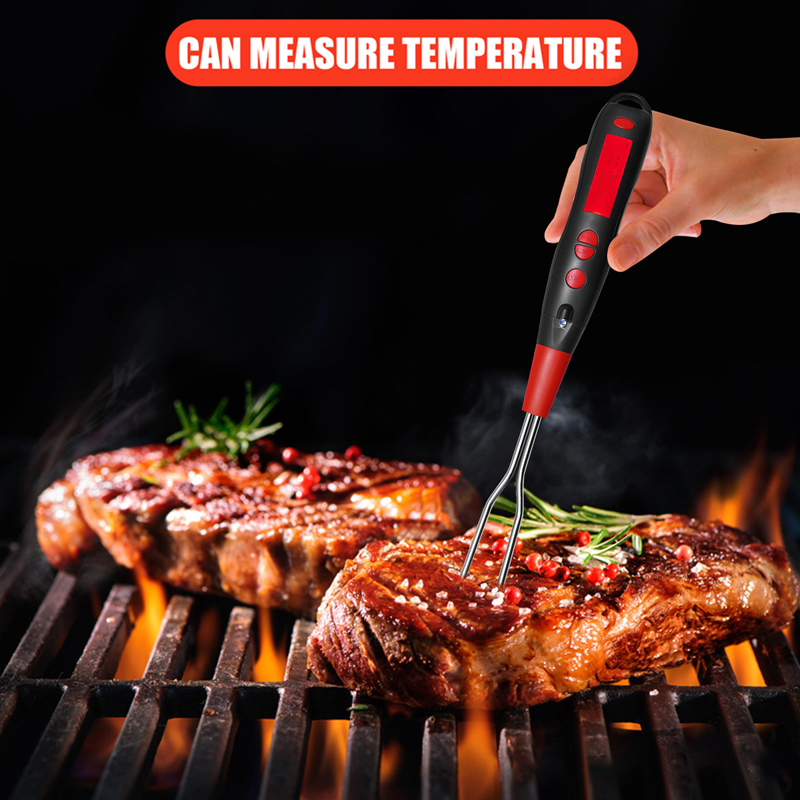
Place the thermometer into the thickest part of the meat or fish, avoiding bones and fat. This area is the last to heat through, so it gives the most accurate reading of doneness.
Mind the Depth
Insert the probe a few inches deep, depending on the cut’s thickness. For thinner items like chicken breasts, insert from the side to reach the center. (See below for details on various thermometer types.)
Read and Repeat
An instant-read thermometer will give you a reading in seconds. For large cuts or whole roasts, check in a few different spots to make sure the temperature is consistent throughout.
Remove Early and Let It Rest
Food continues to cook after it’s removed from heat. Take it off the stove, grill, or out of the oven when it’s about 5 to 10°F below your target temperature. Let it rest for 5 to 10 minutes—the temperature will rise naturally and juices will redistribute for better flavor and texture.
To get an accurate reading, insert the thermometer into the center of the thickest part of the meat, keeping clear of bones, fat, or gristle. For example:
Ribs or rack of lamb: Check the center portion, away from the bones.
Bone-in steaks and pork chops: Insert near the center, avoiding the bone.
Roasts: Aim for the deepest, thickest part of the cut.
Burgers: Insert the thermometer from the side, angling it toward the center for the most precise reading.
Rare: 125–130°F *
Medium Rare: 135°F *
Medium: 140°F
Medium Well: 145°F
Well Done: 160–180°F
*Note: The USDA does not recommend rare or medium rare due to food safety concerns.
For poultry, check the internal temperature in three locations to ensure it’s fully cooked:
Inside the thigh
Inside the wing
The thickest part of the breast
Avoid touching bone, as it can skew the reading.
Chicken and turkey: 160°F
(Remove from heat slightly early and let rest until it reaches 165°F)
For fish fillets or steaks, insert the thermometer into the thickest part from the side, just like you would for a burger.
Fish: 145°F
To ensure accurate readings and perfectly cooked meals, steer clear of these common thermometer errors:
Touching Bone, Fat, or Gristle
These areas heat differently than the surrounding meat and can give you a false reading. Always aim for the center of the meat, away from bones and fatty sections.
Measuring Too Thin a Section
Thin parts of meat cook faster and don’t reflect the overall doneness. Instead, insert the thermometer into the thickest part, where the temperature is lowest and most telling.
Waiting Too Long to Remove from Heat
Meat continues to cook after it’s off the heat—a process called carryover cooking. If you wait until your food hits the target temperature on the grill or in the oven, it may end up overdone. Remove it when it's about 5 to 10°F below your goal, and let it rest. The temperature will rise naturally and finish cooking.
Choosing the right meat thermometer depends on what—and how—you’re cooking. The two most common types are instant-read and leave-in probe thermometers. Here's how they differ and when to use each:
These thermometers deliver quick temperature readings in just a few seconds, making them perfect for fast-cooking or easily accessible foods like:
Burgers
Pork chops
Fish fillets
Anything cooked on the stovetop or grill
Just insert the probe into the thickest part of the meat, check the reading, and you’re done.
Ideal for foods that require longer, consistent cooking times—such as:
Whole roast chickens or turkeys
Pork or beef roasts
Tenderloins and other large cuts
With models like food thermometer, you insert the probe before cooking and run the thin stainless steel wire through the oven or grill door. The external display stays on your counter, allowing you to monitor the temperature in real time without opening the oven. Bonus: built-in alarms notify you when the meat reaches—or exceeds—your target temperature.
A meat thermometer takes the guesswork out of cooking, giving you confidence with every meal. Whether you’re grilling burgers to everyone’s preferred doneness or making sure your roast reaches a safe internal temperature, this simple tool delivers fast, accurate results—and peace of mind. It’s a must-have for any home cook and a true lifesaver for hosts.
Before your next backyard BBQ or holiday dinner, make sure your thermometer is ready to go—or explore Chengle reliable options to upgrade your kitchen game.
Previous: Ultimate Guide to Choosing a Replacement Battery for Dyson
Next: None


Comments
Please Join Us to post.
0